You must choose the Rangecam MS Access database that will receive the imported data. ETL recognises both version 12 and version 14 databases automatically. The workflow is almost identical for the two versions, but a few features differ slightly. To select the target database, open the menu item Target Database.
A standard folder‑selection dialog appears so you can browse to the folder that contains the database file. After you confirm the selection, the path to the folder is shown in the application’s title bar.
![]()
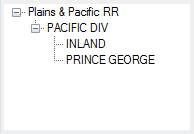
Once the application connects to the Rangecam database, the Territory Selection control is displayed.


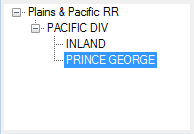
In version 12 you must explicitly select the desired subdivision (for example “PRINCE GEORGE”) with a right‑click.
Expand the territory tree and choose the subdivision that the imported run(s) belong to. The track‑code system for that subdivision is copied automatically from the ARIES database.

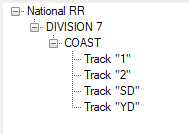
In version 14 you can refine the selection further by choosing an individual track as well as the subdivision.
Track matching links the track codes in the source database to the corresponding codes in the target database. If the codes are identical, the application matches them automatically. Otherwise, use the RC Track Code column to select the correct track for each run.
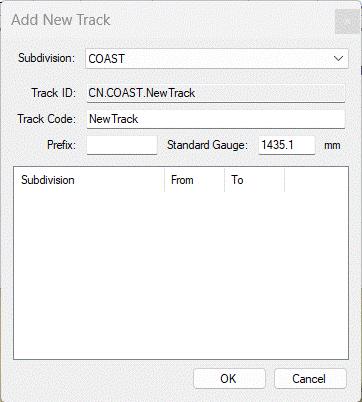
If the required track does not yet exist in the target database you will need to create it first:

Creating a new track (version 14)
Once the track has been created, return to the RC Track Code column and select it from the list.

Selecting the correct track code
The application loads the list of rail types available in the Rangecam database. Tick the rail types that will be used for rail‑profile modelling.

In this example only RE115 and RE136 rails will be modelled.
To change the modelling options used by Rangecam Rail Recognition, click Browse and select a .mdl file created for Rangecam version 12.

If the full path is longer than fits in the field, hover the mouse pointer over the filename to see the complete path in a tooltip.
When all selections are complete, click Import. If anything is missing, a message will inform you of the problem; otherwise the import begins and a progress window appears. The progress window also contains a Cancel button that stops the import if necessary.